Use Case
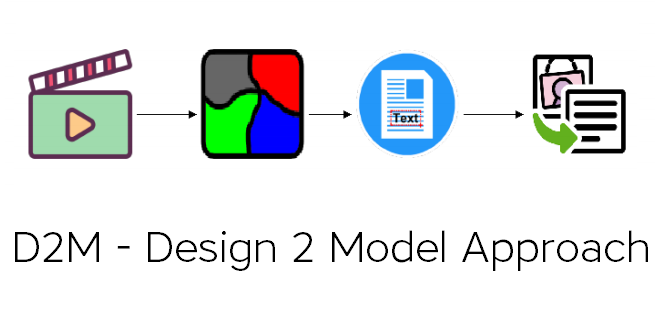
The aim of the Design 2 Model (D2M) Approach is to support the Design Thinking Process by transforming the physical artifacts into a digital computer-processible model. To achieve this four independent decoupled work packages have been implemented, which were then integrated in ADOxx into a single model – the D2M Tool.

- Multimedia1– This work package is responsible for taking the video / image material and normalizing the selected snapshots. The output of this workpackage is a set of normalized images (images with intensified contrast). In order to apply the D2M Tool in the scope of a SWOT analysis workshop, at minimum, a picture of the poster (without any post it notes) and a picture of the final result (poster with post it notes) should be taken and normalized.
- Segmentation– This work package creates the segmentation masks for cutting the aforementioned images. First, a segmentation mask for the SWOT images have to be created in order to assign the the post it notes to the correct category in the end. Then, a segmentation mask for each SWOT region is created in order to cut the single post it notes out of the big picture. The implementation is realized using convolutional neural networks (CNN).
- Multimedia2– This work package cuts the images based on the created segmentation masks in the previous phase. First, the regions are extracted and then the post its out of each SWOT region. Additionally, this work package creates smaller text segments out of the resulting post it notes by trimming the white space from the picture and leaving out only the text.
- Text Recognition– This work package handles the text recognition of the created text segments. The implementation utilizes three alternative methods and takes the best result:
- The command line tool Tesseract
- The Microsoft Azure Computer Vision OCR API for printed text recognition
- The Microsoft Azure Computer Vision Recognize Text API for handwritten text recognition
- Digital Model– This work package generates an equivalent digital model to the physical workshop artifact. It parses the folder structure of the D2M Tool and processes the output of all previous packages. An instance of the class Post-It is created for each physical post it note and is assigned to the corresponding SWOT category in the digital model.
The aforementioned work packages have been implemented as webservices and integrated in ADOxx. In addition, the generated digital model can be then exported into RDF triples in RDF/XML syntax.
Experiment
To apply the D2M Tool in a real life SWOT Analysis Workshop, a poster with cleary distinctive colorful regions for each SWOT category has to be prepared.
The regions have to be ordered as shown below, as the order of the regions is the only marker about the mapping between a physical region and the corresponding SWOT category. Therefore, if you want to do your own experiments, you can vary with colours, but not with the order of the SWOT regions.
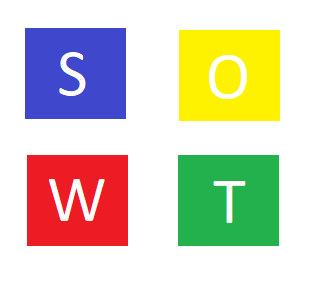
After preparing the poster, before you start the workshop stabilize your camera on the camera stand and take a picture of the empty poster. You will need this image for creating a mask and assigning the single post it notes to the correct SWOT category.
To take the image, you have to first start ADOxx Modelling Tool and select D2M location, D2M folder name, Session and Video.
Then you have to open the D2M Tool Model.

Next, click on the work package Multimedia1 and select “1 Start Webservice” from the menu point “_WP Tasks”.
After the server is loaded, click again on work package Multimedia1 and select “2 Call Rest API” from the menu point “_WP Tasks”.
Select Webservice to run: “3 Take Image”.
*** Creative Design Thinking Process ***
Afer the workshop is done, take a picture of the final version of the poster with the post it notes on it (as described before).
At this point you should have two pictures of the poster in folder “0_Snapshots” – one of the empty poster (here template_1.jpg), and one with post it notes on it (here pic_1.jpg).
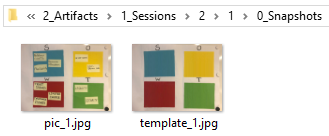
Then you should normalize both images by clicking again on workpackage Mulitimedia1 and selecting “2 Call Rest API” from the menu point “_WP Tasks”.
This time select Webservice to run: “4 Normalize Image”. When prompted, specify the image name without the file extension.
Repeat that for both images. As a result you will be able to find the two images with intensified contrast in folder “1_NormalizedSnapshots”.
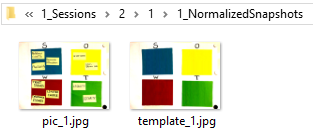
Now, go on and click on work package Segmentation and select “1 Start Webservice” from the menu point “_WP Tasks”.
When the server is loaded, click on work package Segmentation and select “2 Call Rest API” from the menu point “_WP Tasks”.
The Segmentation work package creates segmentation masks for all images found in “1_NormalizedSnapshots”, You will be able to see the generated segmentation masks in folder “4_SegmentationMasksForCutting”. Here the important mask is the one for cutting the SWOT regions (here template_1_mask.png). This mask is generated from the picture of the empty poster.
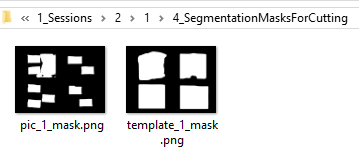
Now in order to proceed and extract the SWOT regions, click on work package Multimedia2 and select “1 Start Webservice” from the menu point “_WP Tasks”.
Once the server is loaded, click on work package Multimedia2 and select “2 Call Rest API” from the menu point “_WP Tasks”.
o Select Webservice to run: “1 Create Masks for SWOT”.
o Select Image name: e.g. “pic_1.jpg” (Here you should enter the name of the poster with the post it notes with file extenstion.)
o Select Mask name: e.g. “template_1_mask.png” (Here you should enter the name of the segmentation mask of the empty poster with file extenstion.)
This will take about 5 minutes. When done, you will able to see the extracted SWOT regions in folder “1_NormalizedSnapshots”, named after the regions, (e.g. “S.jpeg”)

Now, you have to again call the webservice of work package Segmentation to create the segmentation masks for the regions as well. As mentioned, the Segmentation work package create segmentation masks for all images, found in folder “1_NormalizedSnapshots”.
You will then find the newly created segmentation masks for each region again in folder “4_SegmentationMasksForCutting”.

Next, to extract the actual post it notes from the regions, click on work package Multimedia2 and select “2 Call Rest API” from the menu point “_WP Tasks”.
Select Webservice to run: “2 Segment Extraction”.
This will extract the post it notes in folder “5_PostItsOnNormalizedSnapshots”.
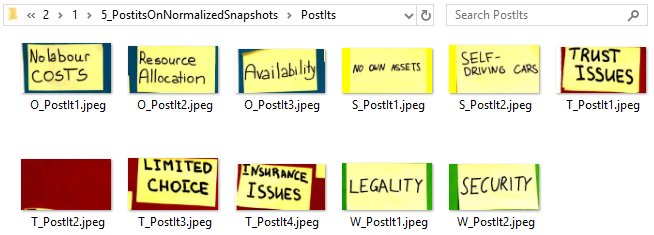
Next, to trim the post it images and create the text segments, click again on work package Multimedia2 and select “2 Call Rest API” from the menu point “_WP Tasks”.
This time select Webservice to run: “2 Text Extraction”.
This will create a separate folder for each post it in folder “7_TextSegmentsOnPostIts”.
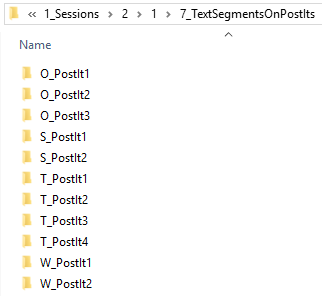
The recognized text segments are placed in the post it folders.
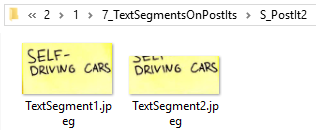
Then we can proceed and process the text segment. Click on work package Text Recognition and select “1 Start Webservice” from the menu point “_WP
Tasks”.
Once the server is ready, click on work package Text Recognition and select “2 Call Rest API” from the menu point “_WP Tasks”.
o Select Post it: e.g. O_PostIt1 (Here you should specify the folder name of the post it image as in “7_TextSegmentsOnPostIts”.)
o Select Text Segment Number: e.g. 1 (Here you should specify the text segment number. Only the number.)
For each post it select the best text segment and repeat this step for all post it notes.
A text file will be created in folder “9_TextOnPostIts” for each post it note.
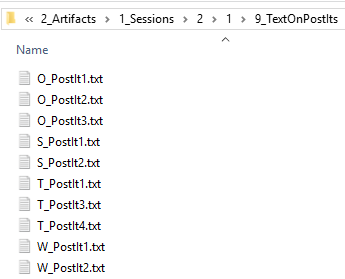
The recognized text is stored in the newly created files.
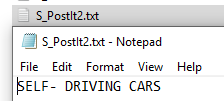
Last, but not least, create the digital model by clicking on on “1 Create Digital Model” from the menu point “_D2M Tasks”.
In our live experiment following two snapshots were taken:
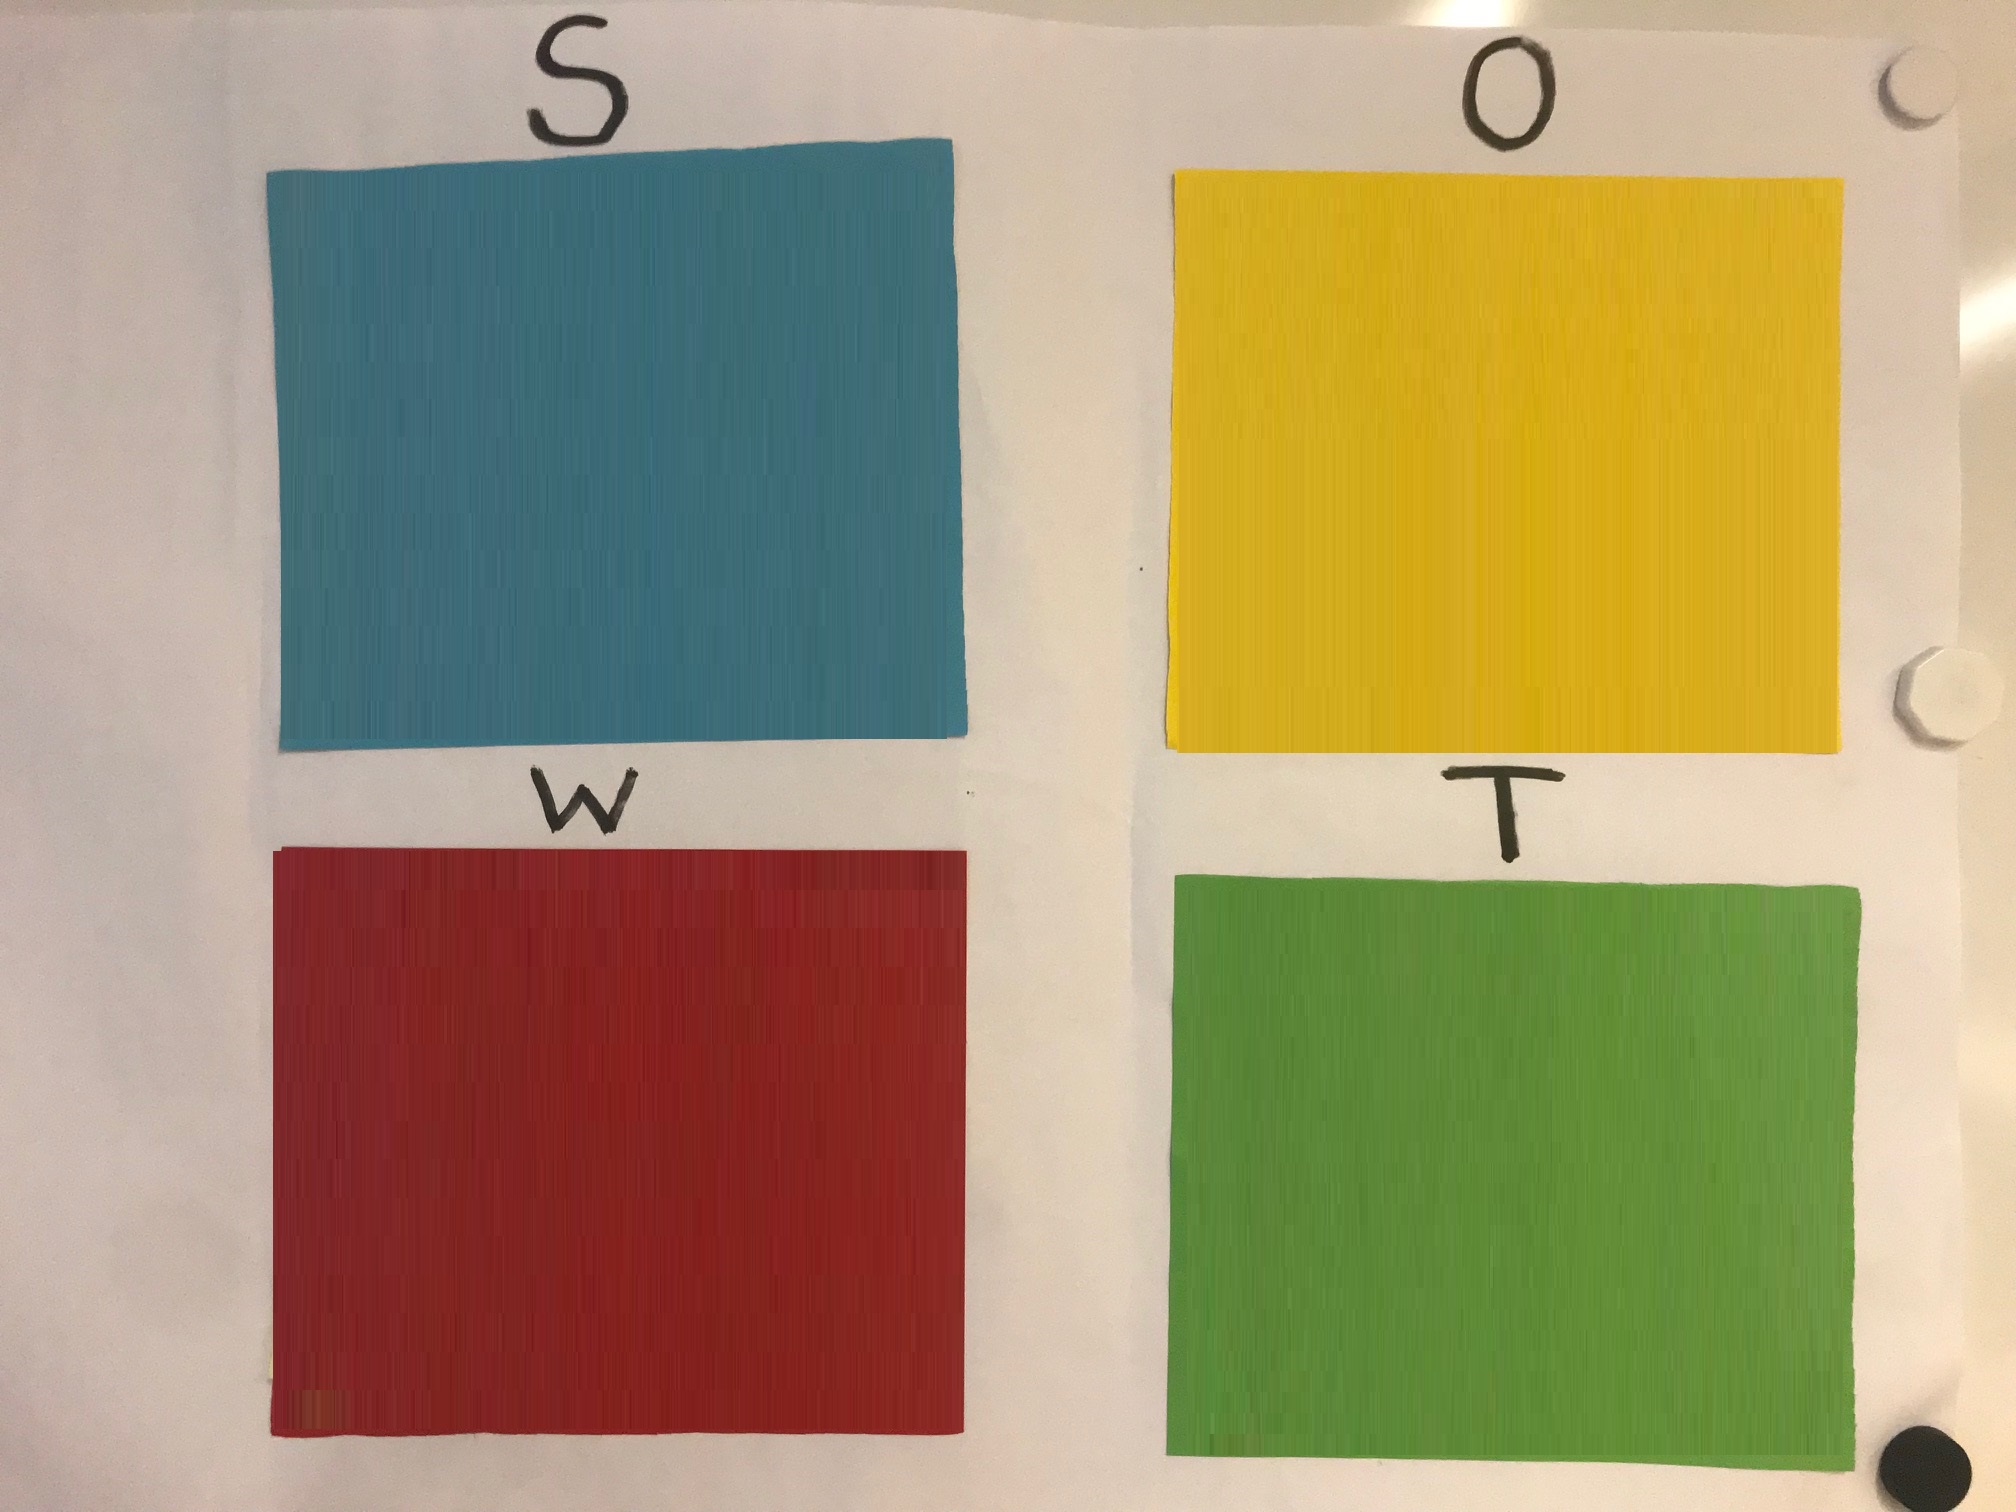
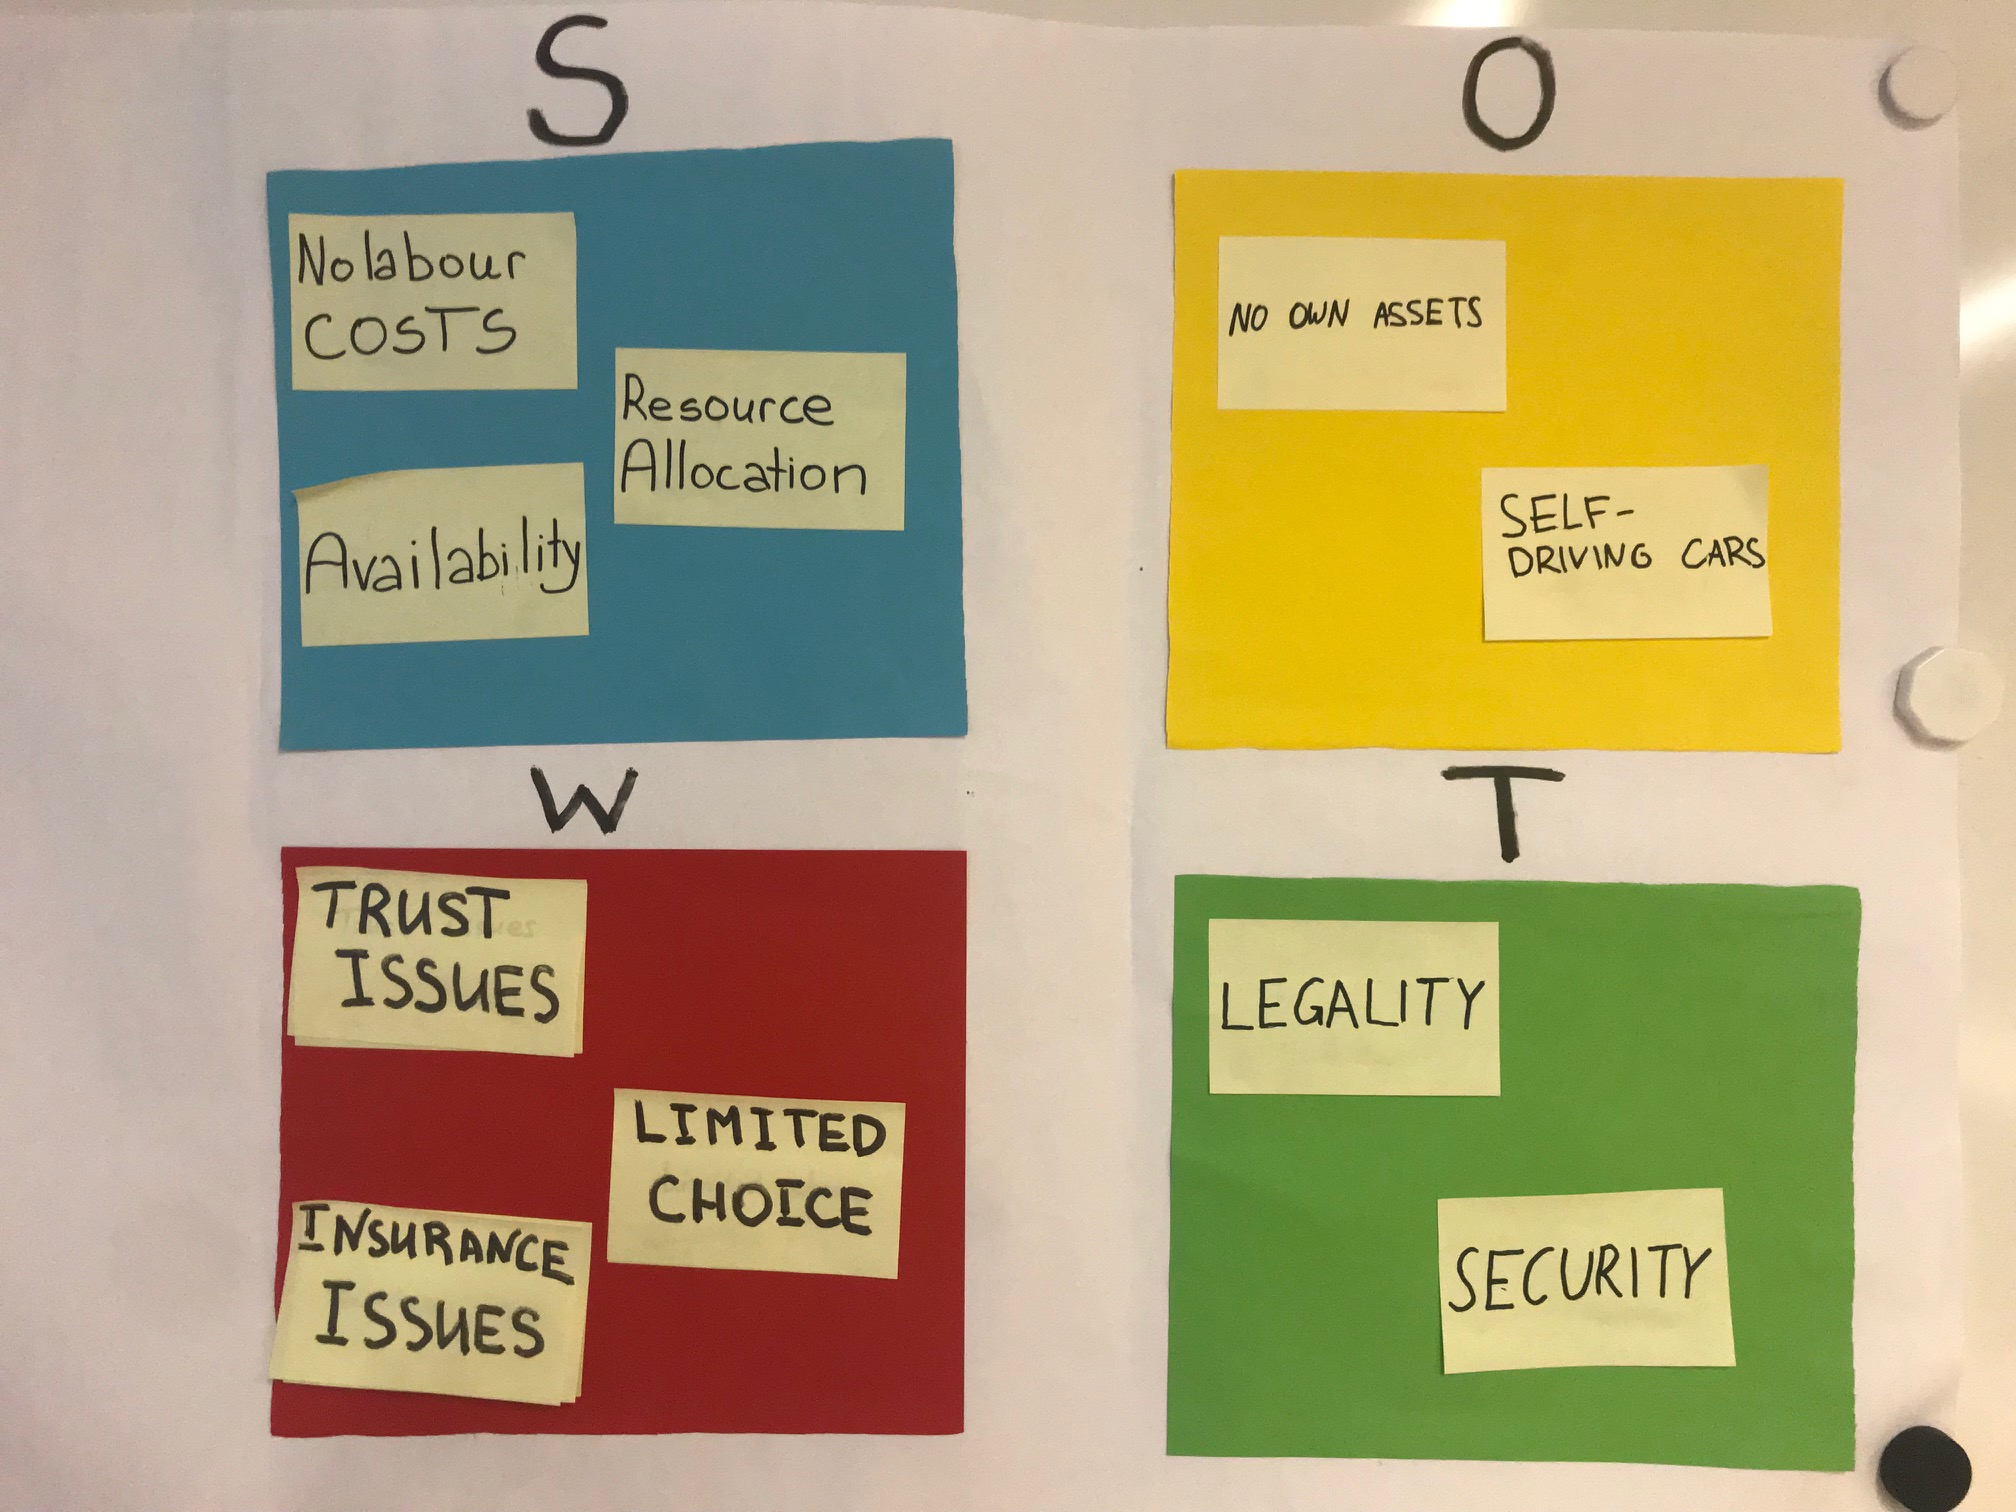
Fig. 1.: Empty SWOT analysis workshop poster Fig. 2.: Final version of SWOT analysis workshop poster
The Digital Model below was generated from D2M Tool having as input the mentioned two images.
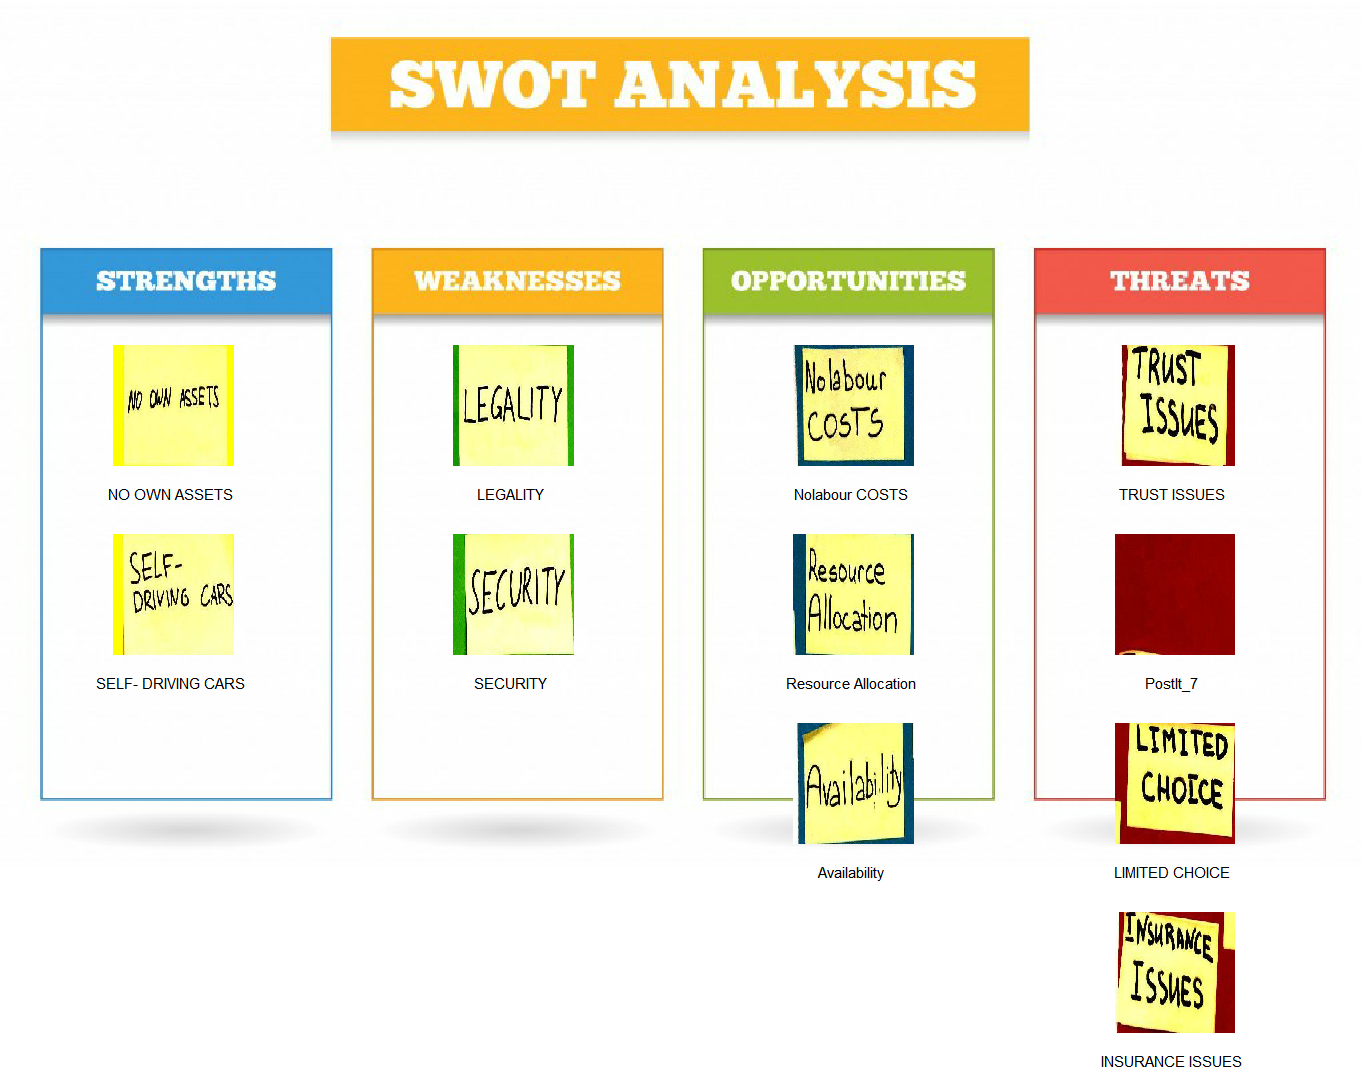
If you wish to export the generated digital model into RDF triples, change the view area from “Modelling” to “Import/Export” and select “3 OWL2RDF” from the menu point “_D2M Tasks”.
Results
Below you can find a demo video, illustrating the application of the D2M Tool on the results of a SWOT analysis workshop.
The SWOT analysis workshop has taken place on the 28th of June, 2019 in the Faculty of Computer Science at the University of Vienna as a part of the Semantic Techonlogies course. The course participants were asked to identify the strengths, weaknesses, opportunites and threats of the Business Model of an On-Demand Car Sharing Company such as Uber or car2go in a completely LIVE setting.
The resulting poster has been photographed and taken as input to the D2M Tool.
